What is a Concretor?
A Concretor is a licensed tradesperson who specialises in forming, pouring, and finishing concrete for structural elements like slabs, driveways, and footpaths. In residential construction, they’re responsible for one of the most critical early milestones: the Slab on Ground.
This role is foundational — literally. A well-executed slab supports the entire home and must meet engineering, site, and code compliance standards

What does a Concretor do?
Your Concretor will complete works according to your agreed scope of works.
Typically, a Concretor will:
- Set out and prepare the slab area, including trenching
- Organise formwork and install edge rebates as per engineering
- Coordinate and place steel reinforcement (mesh, bars, pods, etc.)
- Pour and finish the concrete slab to a level, high-strength surface
- Trowel and edge the surface, adding control joints or finishes as required
- Organise early curing and provide slab protection (if applicable)
They’ll also coordinate timing with the plumber for under-slab services and may return for any footpaths, driveways, or additional pours.

Tip: Insist on the Engineered Slab Design — Not a Sketch
Confirm the Concretor is working to your engineered slab design — not just a builder’s sketch. Even minor differences in steel placement or thickness can result in compliance failures or cracking down the track.
What to look for in a Concretor
When reviewing quotes, look for:
- Compliance focus: Must work to engineering plans and site classification
- Attention to surface levels: A flat and level slab saves time for every trade after
- Weather strategy: Knows how to pour safely in both hot and wet conditions
- Coordination skills: Should coordinate with your plumber for pipework and with certifiers for pre-pour inspections
- Slab prep inclusion: Confirm they include prep works like formwork, mesh, bar chairs, and delivery scheduling
Before You Begin: What You’ll Need Ready
To get quotes from Concretors for your slab, you’ll need:
- Approved construction certificate (CC) or CDC/DA
- Finalised slab engineering drawings
- Site classification and soil report
- A completed site setout or site survey
- Details of under-slab plumbing and electrical services
- Site access and pour scheduling preferences
Glossary
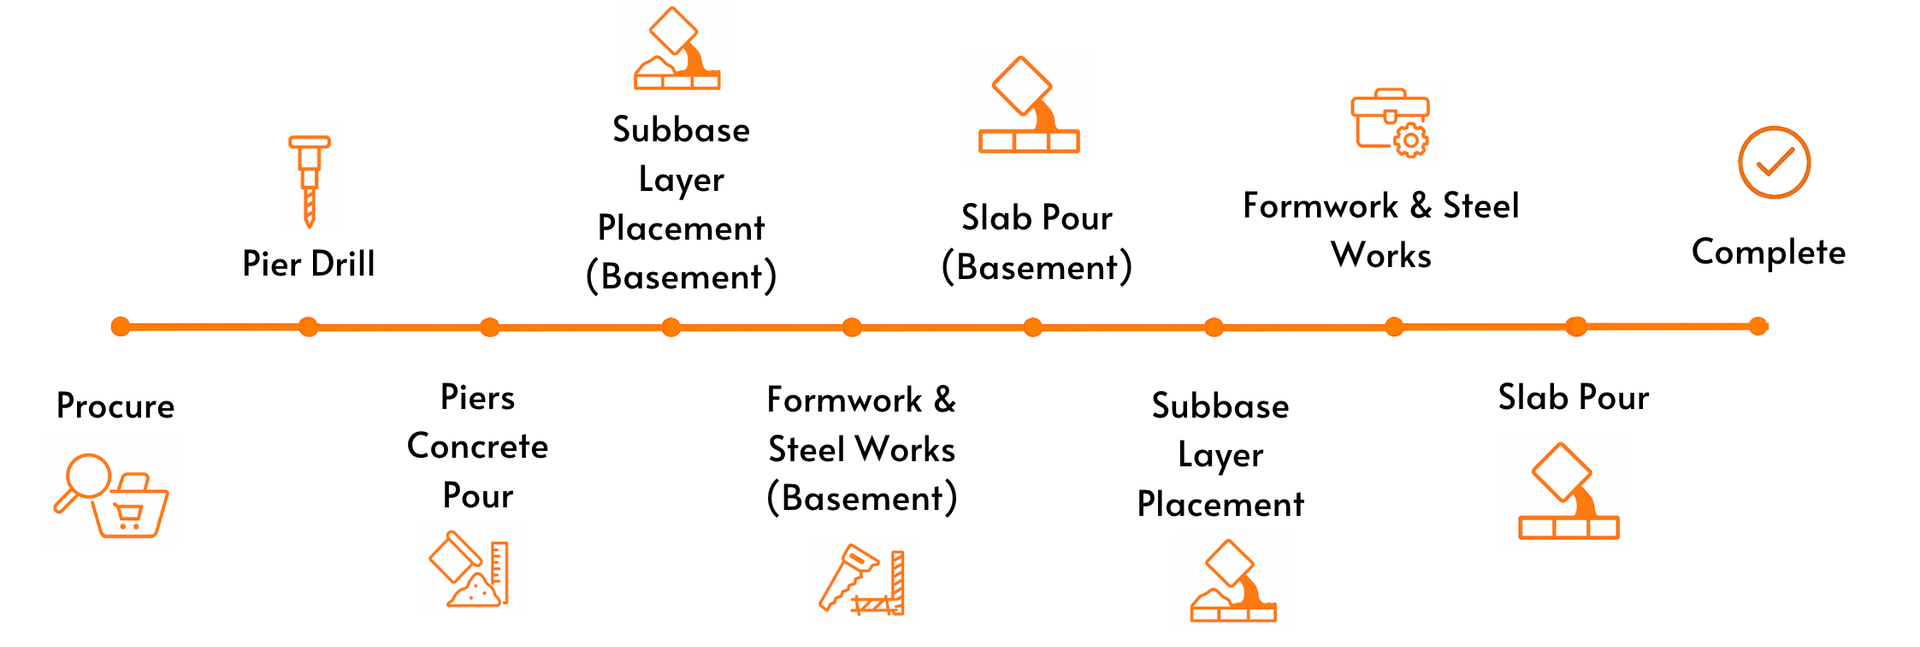
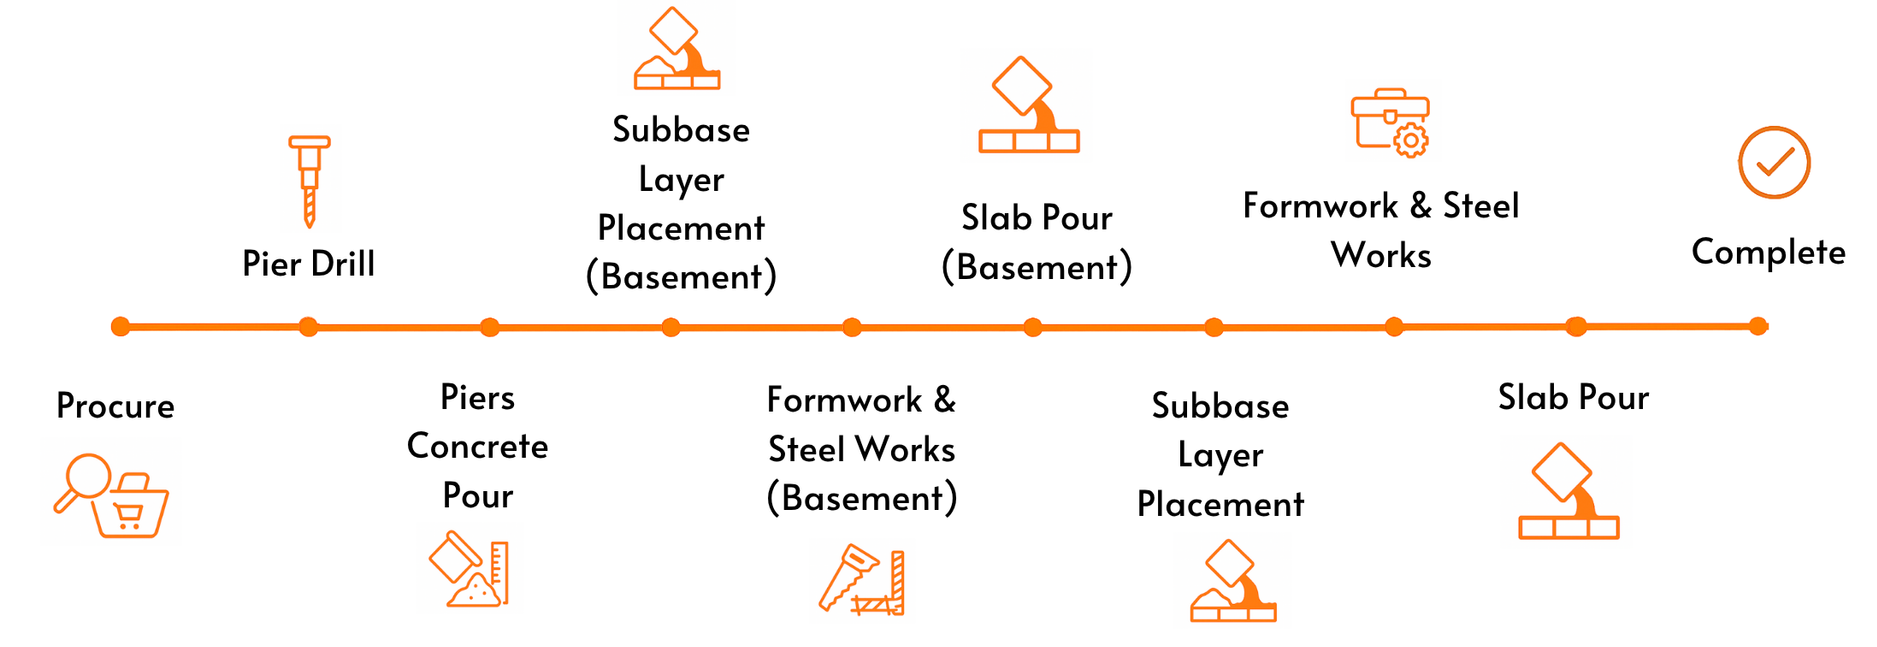
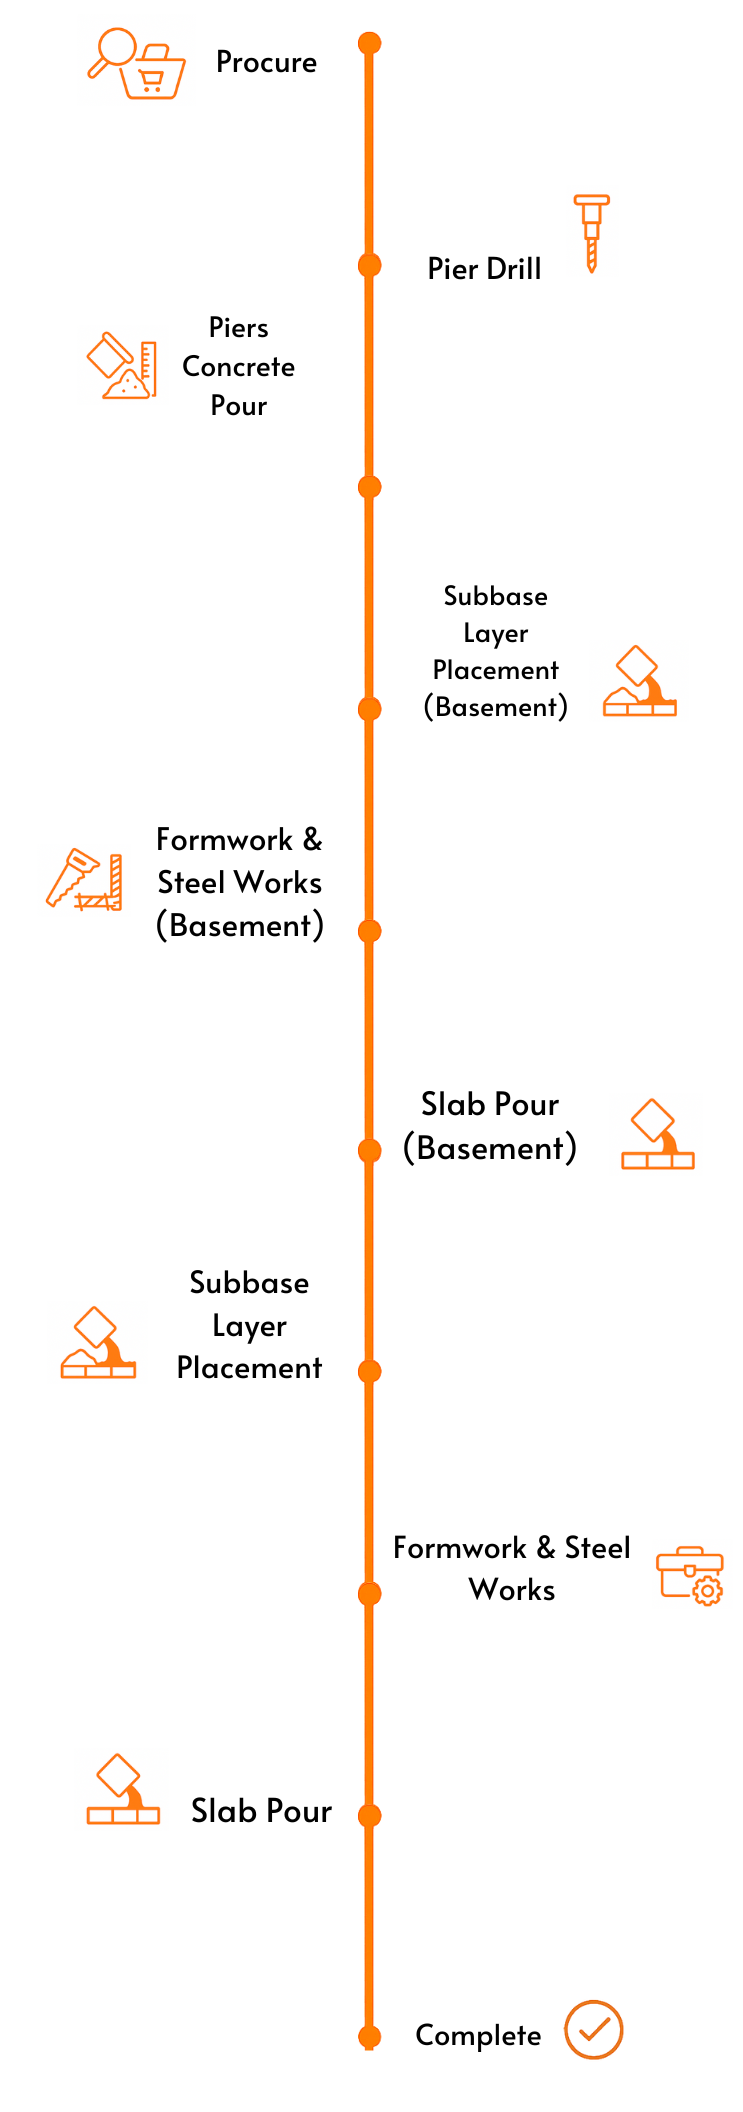
Below is a breakdown of each step that is performed during your Concreter task.
| Term | Definition |
|---|---|
| Procure | The process of finding and securing the right contractors, suppliers, or equipment for your project. In this step, the Owner Builder arranges quotes and locks in trades or services needed for upcoming work. |
| Manage the Piers Drill | The process of finding and securing the right contractors, suppliers, or equipment for your project. In this step, the Owner Builder arranges quotes and locks in trades or services needed for upcoming work. |
| Manage the Piers Concrete Pour | After drilling, the holes are filled with concrete to form strong vertical supports. These concrete piers provide a solid base for the rest of the building. |
| Manage the Subbase Layer Placement (Basement) | A layer of crushed rock or compacted material is laid down in the basement area to create a stable and level base beneath the slab. It helps with drainage and stops the slab from cracking or shifting. |
| Manage the Formwork & Steel Works (Basement) | Temporary moulds (called formwork) are set up to shape the concrete slab. At the same time, steel reinforcement (mesh or bars) is installed inside the formwork to strengthen the concrete once it’s poured. |
| Manage the Slab Pour (Basement) | Concrete is poured into the formwork over the subbase layer and steel reinforcement to create a solid floor slab in the basement area. |
| Manage the Subbase Layer Placement | Similar to the basement subbase, this step involves spreading and compacting a stable layer of material over ground-level areas where slabs will be poured. It ensures a strong foundation and proper drainage. |
| Manage the Formwork & Steel Works | Formwork and steel reinforcement are installed at ground level (above the basement) in preparation for pouring the main floor slab. |
Average Timeframe
For this task, Pros typically provide quotes within
7-10 business days.
When Can I Expect Quotes?
Timeframes often vary based on demand and the type of Pro you're engaging (e.g. a plumber). If additional communication or clarification is needed is needed, the quoting process may take longer.
Don't be alarmed if you don't receive quotes or communication from any Build Buddy Pros straight away. Some work is more complex and the Pro may need time to comprehend your documents or scope of work. Depending on the job, there may even be some work required by the Pro before they are able to quote (e.g. a site visit might be required).
If the average timeframe indicated here has passed, and you have not received any messages or quotes, please feel free to contact the Build Buddy Expert Guidance and Support team for an update on quoting for this task.
Frequently Asked Questions
How long before I can build on the slab?
Curing begins immediately, but framing generally starts 5–7 days after pouring. Full strength takes up to 28 days, but early trades can proceed once it's set and inspected.
How to Complete this Task?

STEP 1
Review and Adjust the Scope of Works
Timeframes may vary based on demand and the type of Pro you're engaging (e.g., a plumber). If additional communication or clarification is needed, the quoting process may take longer.

STEP 2
Confirm Required Documents Are Uploaded
Check that the following required document(s) are uploaded for this task. These are essential to proceed:

STEP 3
Update the Quality Assurance Checklist
Go to the
Quality Assurance tab in this task and review the checklist. Edit any details to suit your project requirements. Being clear and upfront helps set expectations with the Pro. Updating the checklist before requesting quotes ensures everyone is aligned.

STEP 4
Request Quotes
Click the
orange ‘Request Quotes’ button to start the quoting process.

STEP 5
Review the Quotes
Once you receive quotes:
- Review each one carefully, including the payment schedule and any special terms
- Download attached quote documents for detailed review
- Check each Pro’s profile and read past client reviews

STEP 6
Communicate with the Pro
If needed, message or call the Pro to clarify details or negotiate terms.

STEP 7
Accept a Quote
Choose the quote that best suits your needs. Once you accept a quote, any other pending quotes will be automatically declined. An agreement will automatically be generated.

STEP 8
Complete the Tasks In Your App
New tasks will appear to guide you through this job — follow each step carefully. Make sure to use the
Quality Assurance Checklist, and refer to your
contract and
final Scope of Works whenever needed.
NEED HELP?
Reach Out to Your Build Buddy Pro
If you have any questions or need a hand, your Build Buddy Pro is your best first contact. They’re a licensed expert in their field and can understand the ins and outs of your project. You can message them via the platform, or you can call them directly.
If you have already contacted your Build Buddy Pro and still need further assistance, the Build Buddy Expert Guidance and Support team are here to help. They will be able to guide you on your next steps or help you find answers to any questions you may have.