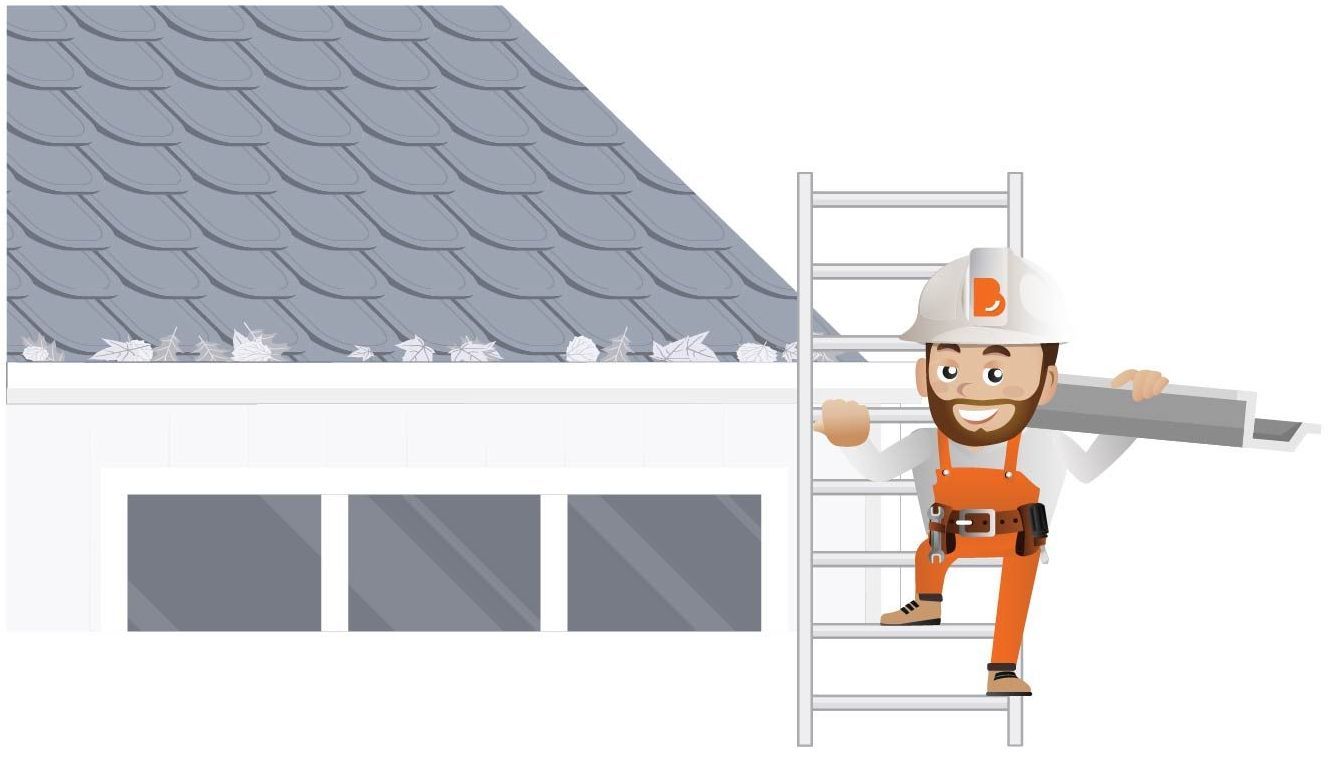
What is a Roofing Contractor?
A Roofing Contractor in this context is a qualified trade professional responsible for installing external roofing elements — including fascia boards, gutters, and flashings — that form the base layer for your roof and drainage system. These components are critical for protecting your structure from water ingress and ensuring correct runoff from your roof.
This work happens just before roof sheets or tiles go on and often involves coordination with the roof plumber or main roof installer.

What does a Roofing Contractor do?
Your Roofing Contractor will complete works according to your agreed scope of works.
Typically, they will:
- Supply and install metal or timber fascia boards
- Install gutters and downpipes with correct fall and brackets
- Fix roof flashings at junctions, walls, and penetrations
- Coordinate with scaffolders or roof installers for safe access
- Check alignment and drainage to ensure water flows away from the home
They may also provide compliance documentation for roofing drainage if required by your certifier.

Barry's Toolbox
Make sure your scaffold is already up — roofing contractors won’t install gutters or fascia unless it's safely accessible.
And don’t forget to ask who’s responsible for downpipes — sometimes they're split between the roofer and the plumber.
What to look for in a Roofing Contractor
When reviewing quotes, look for:
- Licensing and experience with your chosen materials (e.g. Colorbond, zincalume)
- Clear inclusions: fascia type, gutter profile, downpipes, and fixings
- Lead times for delivery (some profiles or colours have delays)
- Previous experience on similar-size projects
- Willingness to coordinate with your builder and scaffold provider
It's also worth asking about leaf guards or overflow protection if you're in a tree-heavy area.
Before You Begin: What You’ll Need Ready
To get quotes from Roofing Contractors, you’ll need:
- Roof plan or elevations showing gutter lengths and slopes
- Specification of fascia and gutter profile (if known)
- Scaffold or access details
- Site address and timing for install
- Cladding type and eave details (for flashing coordination)
Average Timeframe
For this task, Pros typically provide quotes within
7-10 business days.
When Can I Expect Quotes?
Timeframes often vary based on demand and the type of Pro you're engaging (e.g. a plumber). If additional communication or clarification is needed is needed, the quoting process may take longer.
Don't be alarmed if you don't receive quotes or communication from any Build Buddy Pros straight away. Some work is more complex and the Pro may need time to comprehend your documents or scope of work. Depending on the job, there may even be some work required by the Pro before they are able to quote (e.g. a site visit might be required).
If the average timeframe indicated here has passed, and you have not received any messages or quotes, please feel free to contact the Build Buddy Expert Guidance and Support team for an update on quoting for this task.
Frequently Asked Questions
Who installs the downpipes — roofer or plumber?
Sometimes both. Roofers often install the upper sections with the gutter, while plumbers connect to stormwater at ground level.
Can I delay guttering until after the roof is on?
No — gutters and fascia usually go on first. They're required to support roofing materials and manage drainage during installation.
Do I need a specific type of flashing?
That depends on your cladding and roof profile. Your roofer will follow standard flashing practices unless you or your architect specify otherwise.
How to Complete this Task?

STEP 1
Review and Adjust the Scope of Works
Timeframes may vary based on demand and the type of Pro you're engaging (e.g., a plumber). If additional communication or clarification is needed, the quoting process may take longer.

STEP 2
Confirm Required Documents Are Uploaded
Check that the following required document(s) are uploaded for this task. These are essential to proceed:

STEP 3
Update the Quality Assurance Checklist
Go to the
Quality Assurance tab in this task and review the checklist. Edit any details to suit your project requirements. Being clear and upfront helps set expectations with the Pro. Updating the checklist before requesting quotes ensures everyone is aligned.

STEP 4
Request Quotes
Click the
orange ‘Request Quotes’ button to start the quoting process.

STEP 5
Review the Quotes
Once you receive quotes:
- Review each one carefully, including the payment schedule and any special terms
- Download attached quote documents for detailed review
- Check each Pro’s profile and read past client reviews

STEP 6
Communicate with the Pro
If needed, message or call the Pro to clarify details or negotiate terms.

STEP 7
Accept a Quote
Choose the quote that best suits your needs. Once you accept a quote, any other pending quotes will be automatically declined. An agreement will automatically be generated.

STEP 8
Complete the Tasks In Your App
New tasks will appear to guide you through this job — follow each step carefully. Make sure to use the
Quality Assurance Checklist, and refer to your
contract and
final Scope of Works whenever needed.
NEED HELP?
Reach Out to Your Build Buddy Pro
If you have any questions or need a hand, your Build Buddy Pro is your best first contact. They’re a licensed expert in their field and can understand the ins and outs of your project. You can message them via the platform, or you can call them directly.
If you have already contacted your Build Buddy Pro and still need further assistance, the Build Buddy Expert Guidance and Support team are here to help. They will be able to guide you on your next steps or help you find answers to any questions you may have.