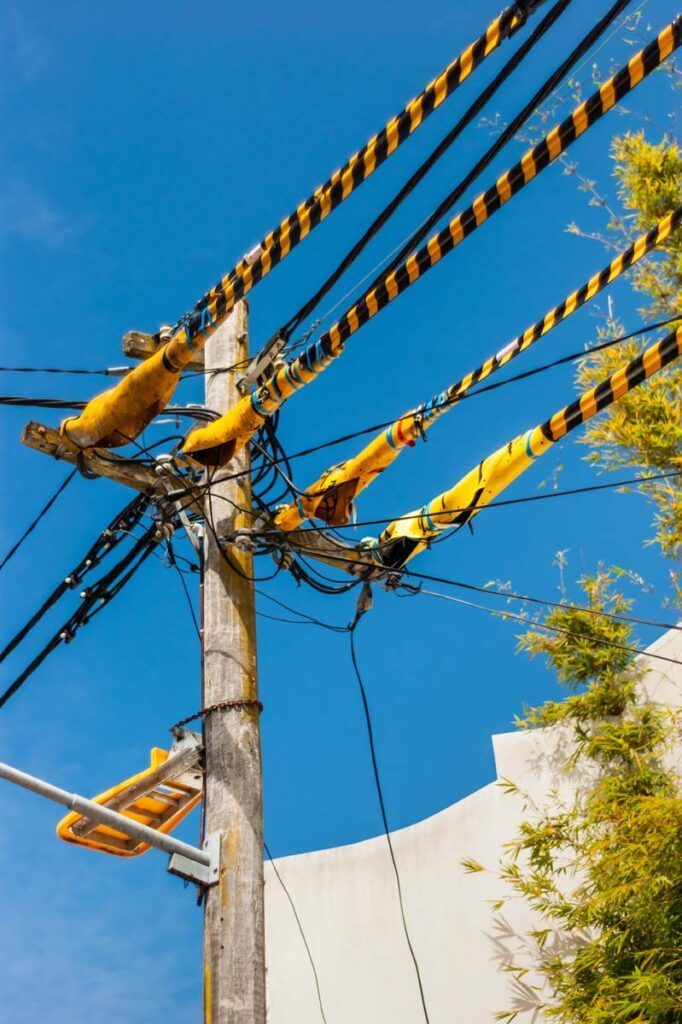
What are Tiger Tails?
Tiger Tails are high-visibility protective sleeves that are installed on overhead powerlines to make them more visible and reduce the risk of contact during construction. They are a temporary safety measure, typically required when scaffolding, cranes, or other structures are being erected near live powerlines.
Installation and removal must be carried out by your
Local Electricity Network Provider (e.g. Ausgrid, Energex, Jemena).
What Does the Local Electricity Network Provider Do?
Your Local Electricity Network Provider is responsible for supplying, installing, and removing Tiger Tails.
Your provider will complete works according to your approved scope of works, which may include:
- Reviewing your application and determining whether Tiger Tails are required for your specific site and construction activities
- Scheduling installation and removal, based on your construction timeline and their availability
- Installing Tiger Tails on the identified power lines to meet safety compliance standards
- Removing the Tiger Tails once the works near the power lines are complete and confirmed safe for removal
They do not coordinate directly with your trades, site supervisor, or builder. It is your responsibility to:
Ensure your build schedule allows for their lead times
Confirm site access and readiness before scheduled works
How to Complete this Task?

STEP 1
Find out who your Local Electricity Network Provider is
Use your address or lot number to confirm who your
Local Electricity Network Provider is — this is usually the distributor, not your electricity retailer. This may also be listed on your electricity bill, or you can use online lookup tools such as:
https://www.originenergy.com.au/for-home/electricity-and-gas/info/find-my-distributor/

STEP 2
Contact your Local Electricity Network Provider
Reach out directly to your Local Electricity Network Provider and request information on their
Tiger Tails application process. Complete and submit the application, providing details such as your project address, construction schedule, and proximity of works to overhead power lines. Attach any supporting documents required — these may include site plans, elevations, or a Dial Before You Dig (DBYD) report.

STEP 3
Schedule and track progress of the Tiger Tails application
Once submitted,
monitor the progress of your application through the provider’s portal or via direct follow-ups. Record key application reference numbers and contact details for future coordination.

STEP 4
Confirm the dates for installation
When your application is approved, confirm with your provider the
start and finish dates for the Tiger Tails installation. These dates should align with your construction schedule — particularly if overhead work or scaffolding is involved. Ensure access to your site is available on the agreed dates, and make provisions for safety signage or personnel if required by the provider.

STEP 5
Coordinate the Tiger Tails installation
Stay in regular contact with your Local Electricity Network Provider to coordinate the
on-site installation of the Tiger Tails. Schedule and track the work to ensure timely delivery. Address any RFIs or issues that arise during the installation process. Manage payments as per your agreement — this may be lump sum or milestone-based.

STEP 6
Coordinate the Tiger Tails removal
Once construction activities that required Tiger Tails are complete, contact your Local Electricity Network Provider to arrange
removal. Confirm the
removal timeline, ensuring it fits within your build schedule and doesn’t interfere with final inspections or trades. Finalise any outstanding payments and ensure all necessary documentation (e.g. installation/removal confirmations, photos) is saved in your records. If there were any variations or access delays, make sure these are resolved and closed out with the provider.

Tip: Be Careful of Your Timeframe
Some providers only allow Tiger Tails to remain in place for a
limited period, such as 30 or 60 days.
If your works are delayed or extend beyond this window, you may need to
re-apply or pay for an extension, which can add time and cost. Always confirm the permitted timeframe up front and plan your construction activities accordingly.

As Each Step Has Been Completed
As each step has been completed, click the
orange button to move to the next step in your construction workflow.