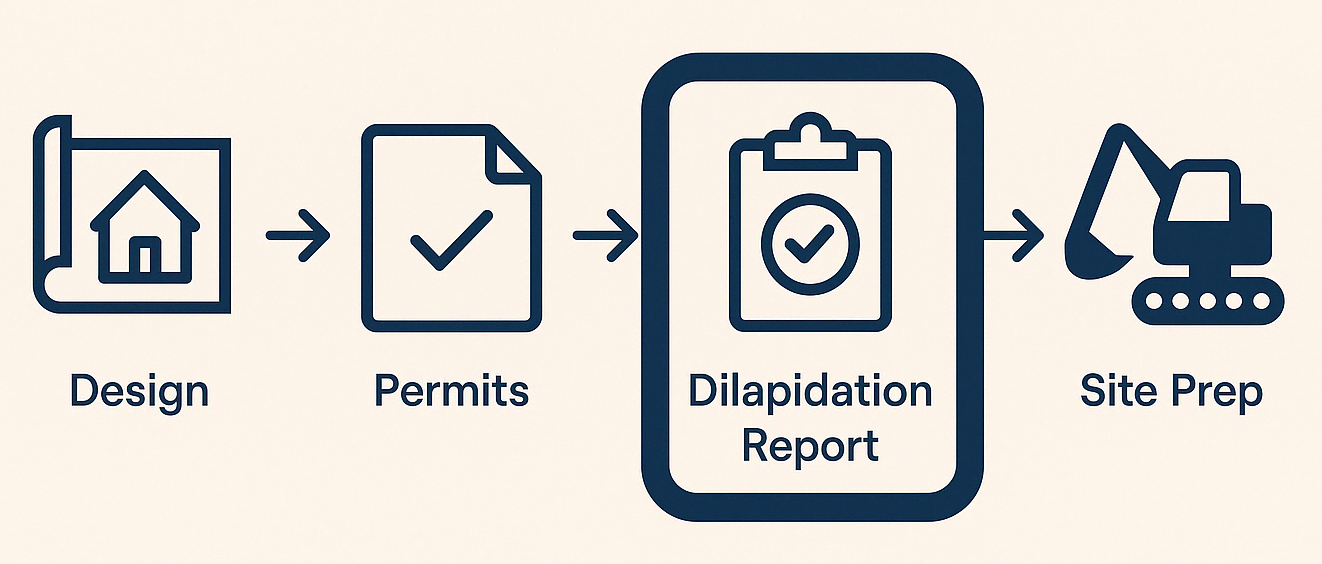
What is a Dilapidation Assessor?
A Dilapidation Assessor is a qualified consultant who documents the existing condition of surrounding structures — such as neighbouring homes, footpaths, fences, and public infrastructure — before construction begins on your project.
This report provides photographic and written evidence to protect you from false claims of damage later. It’s often required by councils for legal protection and peace of mind.

What does a Dilapidation Assessor do?
Your Dilapidation Assessor will complete works according to your agreed scope of works.
Typically, a Dilapidation Assessor will:
- Inspect neighbouring buildings, fences, driveways, and other structures close to your construction site
- Photograph and document any existing cracks, defects, or wear
- Compile a Dilapidation Report that details the pre-construction condition of these assets
- Provide a copy to you and, if required, to council, neighbours, or insurers
- Return post-construction (if required) to conduct a follow-up inspection and update the report
They help mitigate future disputes by creating a dated, impartial record before excavation or heavy works begin.

Barry's Toolbox
Don’t skip this step — even if you get on well with your neighbours. A Dilapidation Report is your insurance if a dispute arises, especially if they later blame you for cracks or movement in fences, walls, or driveways.
What to look for in a Dilapidation Assessor
When reviewing quotes, look for:
- Clear, dated photography: Should include wide shots, close-ups, and detailed captions
- Experience with residential builds: Especially on sloping sites, near shared walls, or in tight suburbs
- Report format and turnaround: Check how quickly they’ll deliver and if they include a PDF copy
- Insurance coverage: Should hold professional indemnity insurance
- Follow-up availability: Some offer a post-construction reinspection package — ask if it’s included
Before You Begin: What You’ll Need Ready
To get quotes from Dilapidation Assessors, you’ll need:
- Site address and boundary layout
- Neighbour contact info (if you’re seeking access)
- Build start date
- Brief overview of the construction works (e.g. excavation, slab, retaining walls)
- Site access instructions (e.g. unlocked gates or side entry)
Average Timeframe
For this task, Pros typically provide quotes within
7-10 business days.
When Can I Expect Quotes?
Timeframes often vary based on demand and the type of Pro you're engaging (e.g. a plumber). If additional communication or clarification is needed is needed, the quoting process may take longer.
Don't be alarmed if you don't receive quotes or communication from any Build Buddy Pros straight away. Some work is more complex and the Pro may need time to comprehend your documents or scope of work. Depending on the job, there may even be some work required by the Pro before they are able to quote (e.g. a site visit might be required).
If the average timeframe indicated here has passed, and you have not received any messages or quotes, please feel free to contact the Build Buddy Expert Guidance and Support team for an update on quoting for this task.
Frequently Asked Questions
Is this mandatory?
Some councils require it, but even if not, it's highly recommended — especially for sites near older homes, shared fences, or retaining walls.
Do I need permission from neighbours to do the inspection?
Yes — assessors can only access other properties with consent. If denied, they’ll document everything visible from your property line instead.
How to Complete this Task?

STEP 1
Review and Adjust the Scope of Works
Timeframes may vary based on demand and the type of Pro you're engaging (e.g., a plumber). If additional communication or clarification is needed, the quoting process may take longer.

STEP 2
Confirm Required Documents Are Uploaded
Check that the following required document(s) are uploaded for this task. These are essential to proceed:

STEP 3
Update the Quality Assurance Checklist
Go to the
Quality Assurance tab in this task and review the checklist. Edit any details to suit your project requirements. Being clear and upfront helps set expectations with the Pro. Updating the checklist before requesting quotes ensures everyone is aligned.

STEP 4
Request Quotes
Click the
orange ‘Request Quotes’ button to start the quoting process.

STEP 5
Review the Quotes
Once you receive quotes:
- Review each one carefully, including the payment schedule and any special terms
- Download attached quote documents for detailed review
- Check each Pro’s profile and read past client reviews

STEP 6
Communicate with the Pro
If needed, message or call the Pro to clarify details or negotiate terms.

STEP 7
Accept a Quote
Choose the quote that best suits your needs. Once you accept a quote, any other pending quotes will be automatically declined. An agreement will automatically be generated.

STEP 8
Complete the Tasks In Your App
New tasks will appear to guide you through this job — follow each step carefully. Make sure to use the
Quality Assurance Checklist, and refer to your
contract and
final Scope of Works whenever needed.
NEED HELP?
Reach Out to Your Build Buddy Pro
If you have any questions or need a hand, your Build Buddy Pro is your best first contact. They’re a licensed expert in their field and can understand the ins and outs of your project. You can message them via the platform, or you can call them directly.
If you have already contacted your Build Buddy Pro and still need further assistance, the Build Buddy Expert Guidance and Support team are here to help. They will be able to guide you on your next steps or help you find answers to any questions you may have.